Have your own basic OsmAnd map
Creation date: 2023-08-03

In this post I would like to show you how to create your own map which you can use using the wonderful OsmAnd app.
All you need for this is a server with root access to be able to install software on it and preferably the app to see your own creation on your phone. Though the latter part isn't necessary. You might also want to use your own tile server (that is how such a server that serves the map is called) for your website or something else.
There is quite some different software out there that one can use for this purpose and I had to struggle with some of them and in the end found a way that works for my use case of using this for visualizing my progress on my project of walking every single street of Hamburg. If you're interested in that make sure to follow me on Instagram where I keep you up to date with my progress on the walking part. If you're interested in the software I build in the background make sure to subscribe to my email newsletter or follow me on Twitter @opensourcesblog .
What is a tile server?
A tile server is a server that serves the map. It is called a tile server because a map is nothing else than a bunch of image tiles combined together at different zoom levels. In the end you'll be able to see a 256x256 pixel image when using a specific url of your tile server which tells the server the zoom level as well as the xy position of the tile you want to see.
How to get the map data for my tile server?
I'm very new to this field of working with geo data and I can tell you there are a lot of different file formats one can work with and I'm still in the very early stages of understanding them but I can give you a very rough overview of what exists and what you might come across when working in this area.
-
Basically a JSON format which can be used to describe lines and polygons and is quite easy to handle as a human
-
kind of similar to geojson in the way that it is a regular file format with some specific structure. Here it builds on top of xml
-
We are in the category of efficiency and binary now. You will not write these files yourself I suppose. I use it as an intermediate file format for some programs that I'll talk about next
-
Kinda similar to the first two in a sense because it's basically just another format that got its own structure but is kinda a standard format. This time it's technically a sqlite file and is used to store tiles in a single file
If you want to create a map from scratch I suggest you to write an xml file, convert it to .osm.pbf with some tools and then to .mbtiles which is the format that the software I use for creating the tile server uses.
I'll probably blog about that process in a different blog post as I create an overlay tile server for all the streets that I have already walked.
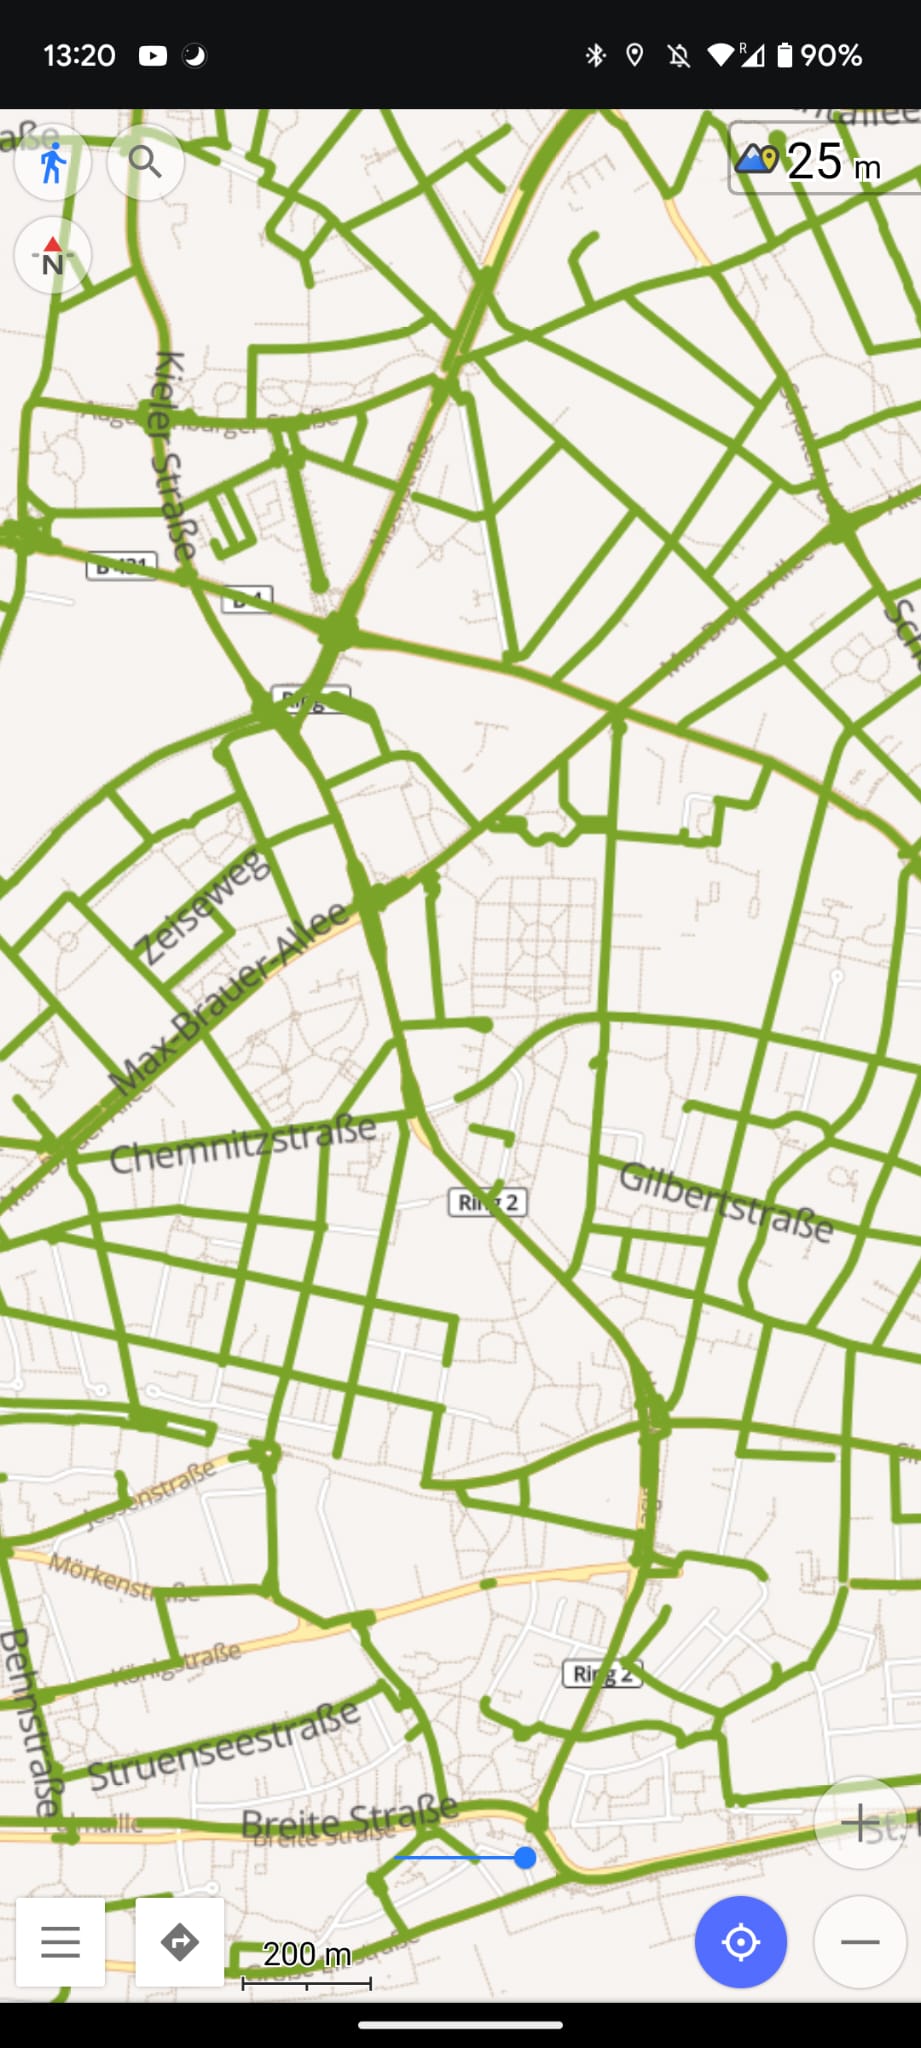
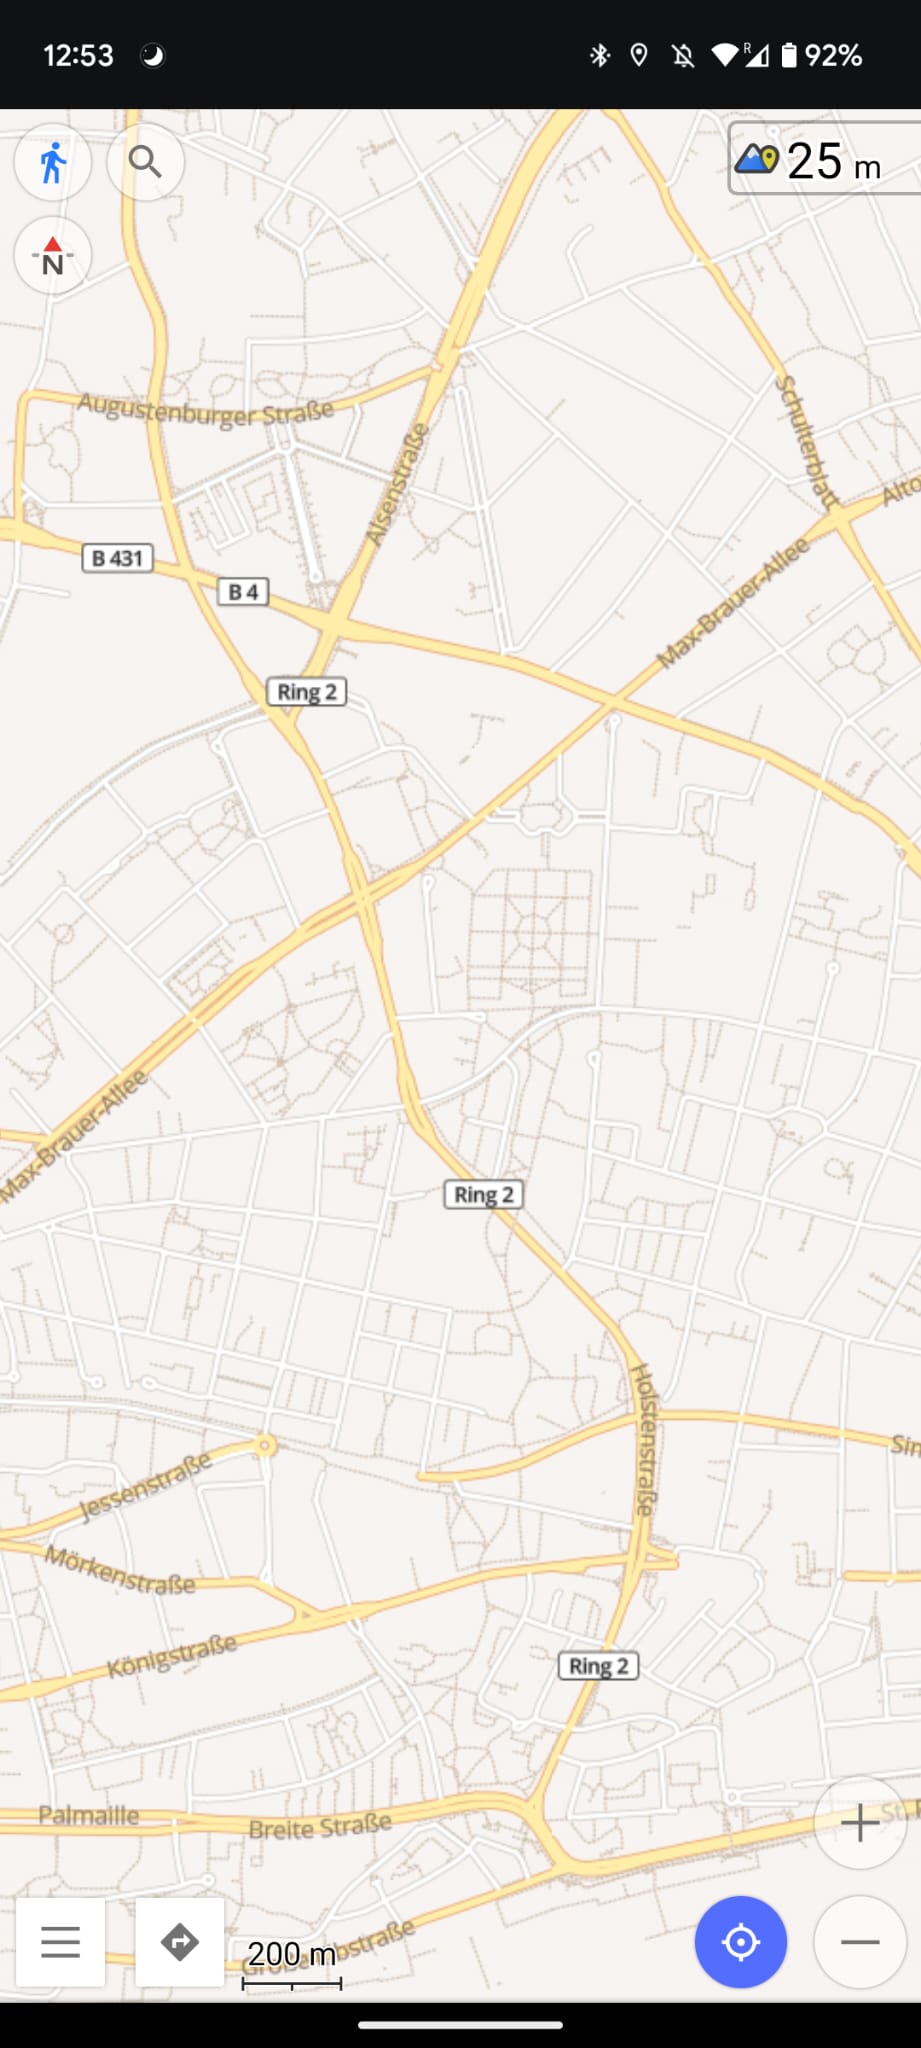
Though for now let's focus on downloading the street information of a city in .osm.pbf format and create a tileserver from that after reducing it down to all the streets and ways that are walkable to have a simplified map like the one I showed at the top of this post.
As I have done the whole thing already for the wonderful city of Hamburg, Germany let's do it for another one or even only a part of one to learn a bit more of the tools.
You can download .osm.pbf files from this website https://download.geofabrik.de which has osm.pbf files for all parts of the world from continent level to state level.
If you're interested in only Manhattan for example you can either search online whether there are any osm.pbf files for that area already around or if you don't need a precise cutout you can use osmosis which you'll need later on anyway to cutaway parts of the map that you don't want to visualize in your simplified map version.
Osmosis makes it easy to convert between some file formats as well as manipulating the data. One command to crop the file we just downloaded to just keep Manhattan:
osmosis --rbf new-york-latest.osm.pbf --bounding-box top=40.8977 left=-74.0856 bottom=40.6598 right=-73.5586 clipIncompleteEntities=true --write-pbf manhattan.osm.pbfclipIncompleteEntities=true is necessary to clip away all nodes that are referenced by ways. If this isn't done than tilemaker (a software we'll use in a second might fail because of a missing node)This brings down the file size from >400MB to about 60MB. Reducing the filesize will have a big impact on the speed of creating the tiles sqlite (MBTiles) file later on.
Now to cutaway parts that we don't want to have in our walkable map like train tracks and highways we can use the following:
osmosis --rbf manhattan.osm.pbf --tf accept-ways highway=trunk,primary,secondary,tertiary,unclassified,residential,living_street,pedestrian,secondary_link,footway,track,steps,path --tf reject-ways foot=no,discouraged,private access=no,private,customers --used-node --write-pbf manhattan_simple.osm.pbfThere we can specify tags and values of ways that we want to keep like primary, secondary and tertiary roads and remove ways we can't walk like those that have foot=no or access=private in them.
That reduced the file down to about 10MB. The last step before we can deploy the tileserver now is to create the sqlite database which stores all the information about what data there is for each zoom level and each tile.
For this I use tilemaker. The install procedure worked well for me for this package so nothing to add there. When you installed it on your machine or on your server (doesn't matter for this step) you have the tilemaker command which we'll use in a second as well as a config.json which can be used to specify zoom levels you want to generate. By default it goes up to zoom level 14 which didn't feel enough for me but might be for you. You can change it in there for when specific features will be part of the tile like are house numbers visible for zoom level 0 which shows the entire earth or only from 14 onwards or something. That will make the mbtiles file smaller and rendering faster when certain things are only visible in a zoom range. However you'll also be able to change this in your style later (of course only restricting it more not making it less restrict as the data isn't there to display then).
Now you can run:
tilemaker --input manhattan_simple.osm.pbf --output manhattan_simple.mbtilesThis might take a bit depending on your settings and outputs the MBTiles (sqlite) file.
How to deploy the tile server?
Now to the penultimate step of this blog post and depending on your use-case the last step for you. We now have the database file which the tile server will you to generate the small 256x256 pixel tiles.
For the tile server itself I use tileserver-gl which you can install via docker.
docker run --detach -v $(pwd):/data -p 8082:8080 --name manhattan-simple maptiler/tileserver-gl -c config_manhattan.jsonTo run this you need to be in the same folder as the mbtiles file and the config_manhattan.json as well. A basic config.json which you can change to your needs.
This is the config file I use:
{
  "options": {
    "paths": {
      "fonts": "fonts",
      "styles": "styles"
    },
    "domains": [
      "example.com"
    ]
  },
  "styles": {
    "basic-preview": {
      "style": "osm-bright/style.json",
      "tilejson": {
        "type": "overlay",
        "bounds": [8.529446, 53.064758, 10.55232, 53.380539]
      }
    },
    "klokantech-basic": {
      "style": "klokantech-basic/style.json",
      "tilejson": {
        "type": "overlay",
        "bounds": [8.529446, 47.364758, 8.55232, 47.380539]
      }
    }
  },
  "data": {
    "openmaptiles": {
      "mbtiles": "manhattan_simple.mbtiles"
    }
  }
}
You can use your own styles there and fix the bounds if you want to 😉 As well as your domain of course.
After running the docker command you can open your website at your port you specified or use some kind of nginx forwarding from some url.
Now before we go to the next step of seeing that map in our OsmAnd app let's check whether everything works with this nice debug tool
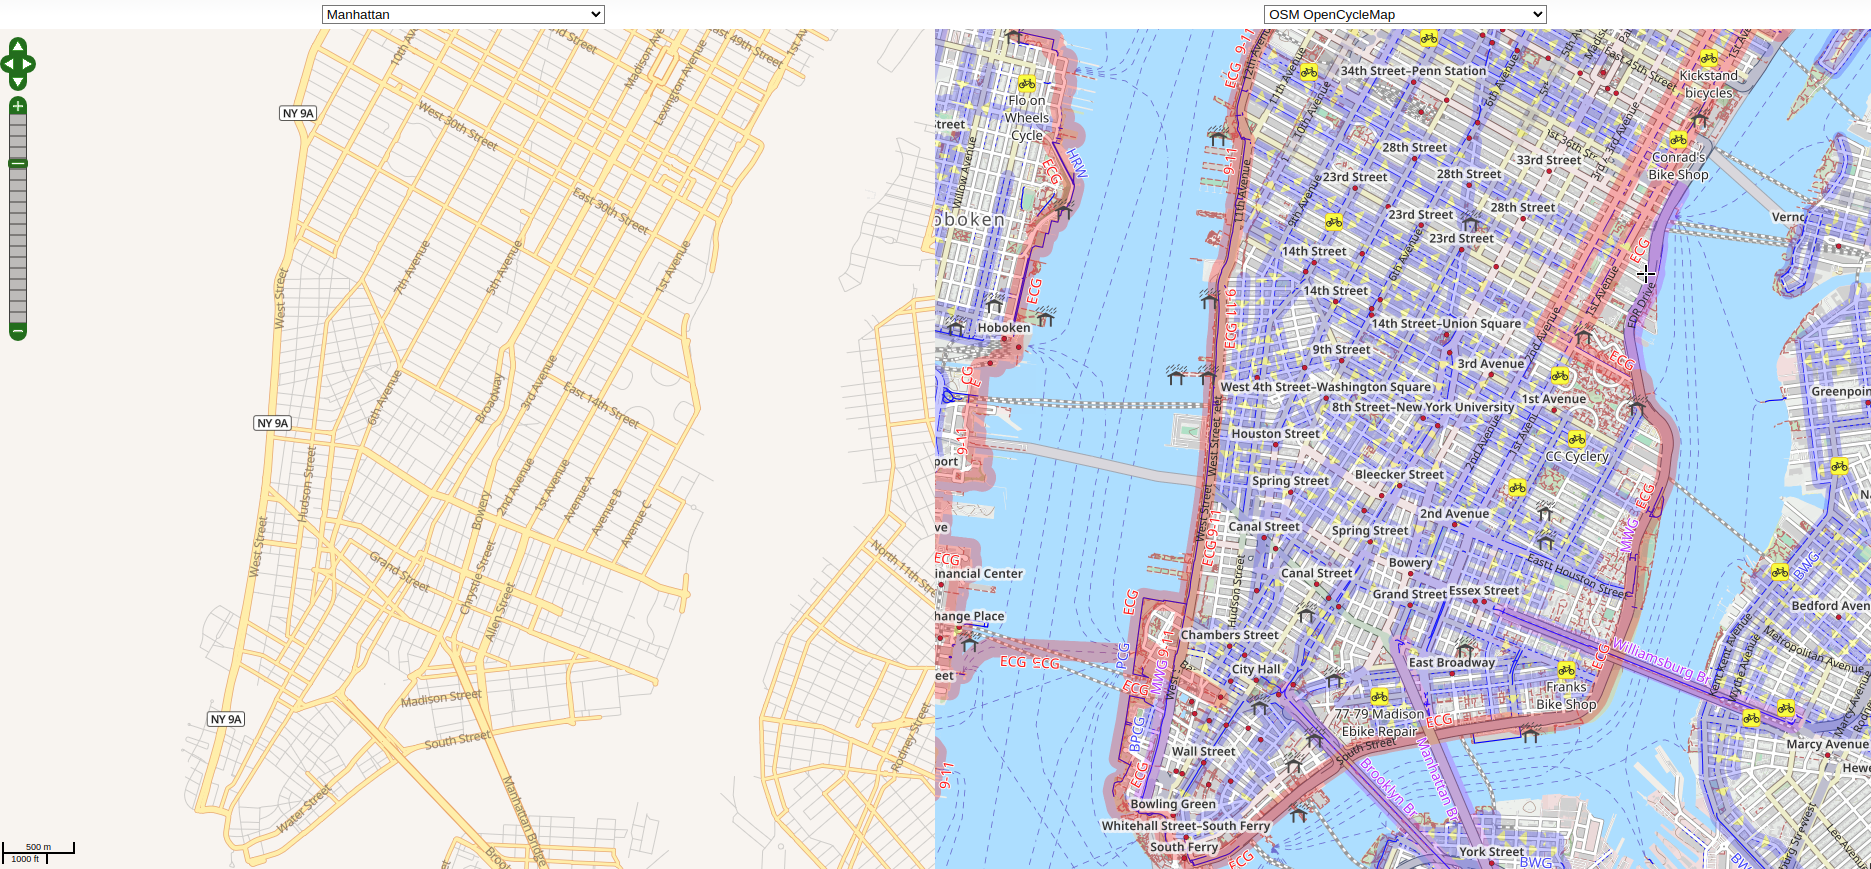
On the left hand side we have our own simplified map and on the right hand side a standard map we can compare it to.
To configure that tool you have to click on console at the footer of the website and enter your tile server url.
The url should look something like this https://example.com/manhattan/styles/basic-preview/${z}/${x}/${y}.png The basic-preview part is coming from your config file. The ${z} is a placeholder for the zoom level and the ${x} and ${y} for the coordinates. You can get the url also by visiting the website generated by tileserver-gl and click on services: XYZ to get your url.
How can use it using OsmAnd?
As a final step let's add that tile server to the OsmAnd app by following these steps:
Switch to your walking profile
or probably better add a new profile by
hamburger menu
click on your profile at the top
Manage
New profile
Start with walking profile
Name: Manhattan walking
Click on the hamburger menu at the bottom left
Configure map
Map Source
Add manually
Name: Manhattan simple
Url: https://tiles.opensourc.es/manhattan/styles/basic-preview/{0}/{1}/{2}.png
Then select Manhattan simple as your map source
This should turn you map gray if you're not currently in Manhattan
Then you can either search for Manhattan or try to find it as it will be the only thing on your otherwise empty world map.
Conclusion
Hope you learned how to create your own tile server. This should only be used for small parts of the earth like a city as otherwise the mbtiles file will get huge and then sqlite is as the name suggests not the right choice anymore.
Have fun creating your own maps and map styles.
As always thanks for reading!
Special thanks to my 8 patrons! Thanks so much for you continued support on my journeys in open source and tackling those projects.
Special special thanks to my >4$ patrons. The ones I thought couldn't be found 😄
Gurvesh Sanghera
Szymon Bęczkowski
Colin Phillips
Want to be updated? Consider subscribing on Patreon for free
