Improve MNIST using your own handwritten digits
Creation date: 2016-07-10

This is the third blog entry about MNIST (the handwritten digit database). In the first one I explained how to digitize your own handwritten digits. If you missed it, check it out here. The second one describes how to expand the code to recognize not only digits but whole numbers here.
Unfortunately, I didn't have much time during the last couple of months, because I'm currently working on my bachelor thesis...
Well, here is a new article about how to teach the computer to learn your own handwritten digits and not only learn the given MNIST data. It's a short one but I think it might be reasonable to explain it to you to make it easier to use this for your own needs. In the last blog entry someone asked me to write an article on this topic and I know I'm a little late :D but I appreciate your feedback and I always aim at writing something you would like to read.
Just tell me: Whether it's something completely different like the article about the memory palace or something about a machine learning topic.
Let's begin and I'll talk a bit about future plans at the end of this article.
The idea is to improve the neural network in a way that it can recognize your own handwritten digits better and better. We want to add our new learning material to the existing one and we don't want to learn everything again every time. Therefore, we will use our checkpoint function to load the trained model and just learn something new afterwards and add it to the model. Checkpoint function? Well, I mean the function in tensorflow to save the current model in a checkpoint file and to reuse it afterwards.
# Here's where you're restoring the variables w and b.
# Note that the graph is exactly as it was when the variables were
# saved in a prior training run.
ckpt = tf.train.get_checkpoint_state(checkpoint_dir)
if ckpt and ckpt.model_checkpoint_path:
    saver.restore(sess, ckpt.model_checkpoint_path)
else:
    print 'No checkpoint found'
    exit(1)
And at the end we want to start our program with python learn_extra.py folder where folder is the folder with our new training material (a list of .png images). These .png images should have the correct digit as the last char of the file name. Something like test_3.png would mean that the digit shown in this image is a 3.
So we have to get our folder variable.
folder = sys.argv[1]If you like to train the neural network with your images which were already gone through it they might be exist in the right white on black version. Then we don't need to reverse the color. But if you want to learn "normal" handwritten digits we have to reverse them. Therefore we need a reverse flag.


if len(sys.argv) > 2:
    reverse =sys.argv[2]
else:
    reverse = False
I normally use the already processed images therefore I set reverse to false as default value.
To add something new to our model, we just need to train our model again with our new images.
batch_xs, batch_ys = get_learning_batch(folder,reverse=reverse)
sess.run(train_step, feed_dict={x: batch_xs, y_: batch_ys})
saver.save(sess, checkpoint_dir+'model.ckpt')
The get_learning_batch method looks like that:
def get_learning_batch(folder,reverse=False):
    batch_xs = []
    batch_ys = []
    for file in os.listdir(folder):
        if file.endswith(".png"):
            digit = file[-5:-4]
            y = get_y_by_digit(digit)
            x = get_x_by_image(folder,file,reverse=reverse)
            batch_xs.append(x)
            batch_ys.append(y)
    return batch_xs, batch_ys
We want to get our batch_xs and batch_ys so we create these two arrays first. Afterwards we iterate over all .png files and get the digit as described above. If the digit is 3 we would like to add [0,0,0,1,0,0,0,0,0,0] to batch_ys.
def get_y_by_digit(digit):
    arr = np.zeros((10))
    arr[digit] = 1
    return arr
As described in the first blog entry about MNIST here we use this function to create our batch_x.
def get_x_by_image(folder,image,reverse=False):
    # read the image
    gray = cv2.imread(folder+"/"+image, 0)

    # rescale and reverse if necessary
    if reverse:
        gray = cv2.resize(255 - gray, (28, 28))
    else:
        gray = cv2.resize(gray, (28, 28))

    ...
    ...
    ...

    flatten = gray.flatten() / 255.0
    return flatten
Actually that's everything we need to teach our machine to recognize our new images.
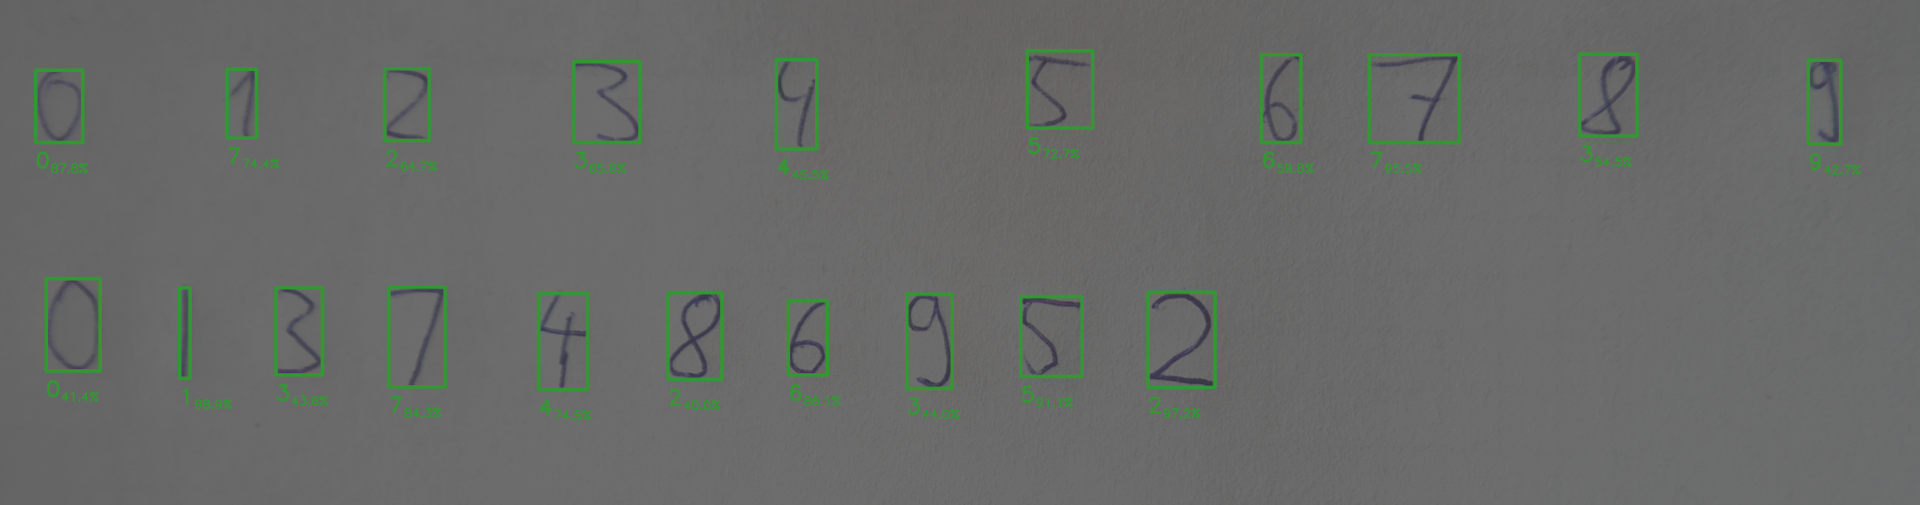
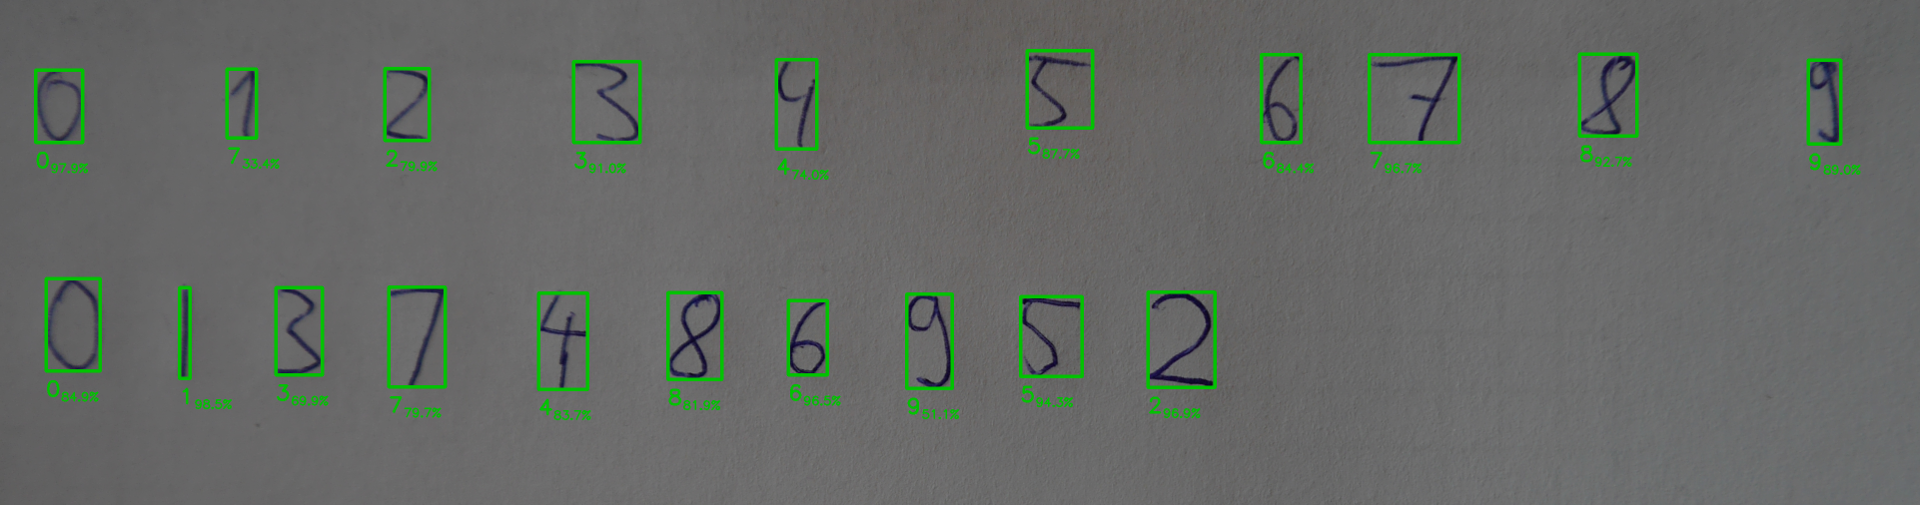
You can run our last code example python step2.py bla and check out the pro-img folder afterwards. There you can see the bla_digitized_image.png and some other image files. These files can be used to improve the neural net. This images are processed therefore we don't need to reverse the color so reverse must be set to False.
Just copy paste them to your new folder learn, rename them and run python learn_extra.py learn.
Then you can run python step2.py bla again and you will hopefully see some improvements.
Thanks for reading and don't hestitate to write some comments.
You can download all the code on my OpenSourcES GitHub repo.
After teaching some own handwritten digits the improvement looks like this:
You might wanna have a look at a new similar approach I implemented. It's about recognizing handwritten equations and create LaTeX expressions out of it. [He2LaTeX](/blog/he2latex]
Future plans and last months
In the last two months I was working on my bachelor thesis (well I'm still working on it) and I tried to work with tensorflow to tackle a "real" challenge.
You know already that I'm fascinated about kaggle challenges. Well, there was a new one which was awesome :D It was about ordering satellite images in chronological order without knowing anything (neither time of day nor place the image was taken) about these images.
The dataset had about 300*5 images (300 different locations and 5 images for each location). Each location had these five images which were taken on five consecutive days and the challenge was to bring them into the correct order.
It was a real dataset and therefore the alignment of these five images was sometimes horrible. First, it was a challenge to bring them into a usable alignment to get some features out of it and to be able to better compare two images.
To cut a long story short, it was an interesting experience and it shows that real data isn't simple. You can't simply train a model without doing anything beforehand.
It's important to think about the right model and how to extract features in the first place or like in our case here to normalize them in a way that you don't need millions and millions of data to learn something.
Finally, I finished with rank 38th/401 which is Top 10%. Pretty happy :)
I'm not really sure about future articles but I would like to write something about my experience using the memory palace. Build my first one some months ago and unfortunately I forgot some elements because I stopped learning every day. Now after two months I think it might be interesting to check out which associations worked best.
Send me your ideas! ;)
If you've enjoyed this and some other posts on my blog I would appreciate a small donation either via PayPal or Patreon whereas the latter is a monthly donation you can choose PayPal for a one time thing. For the monthly donation you'll be able to read a new post earlier than everyone else and it's easier to stay in contact.
Want to be updated? Consider subscribing on Patreon for free
